


Table des matières
ToggleTo maximize the cooling efficiency of your cooler, the type of ice you choose plays a critical role. However, determining whether cube ice, block ice, or dry ice is the right choice can be challenging.
1. What Are the Types of Ice for Cooler?
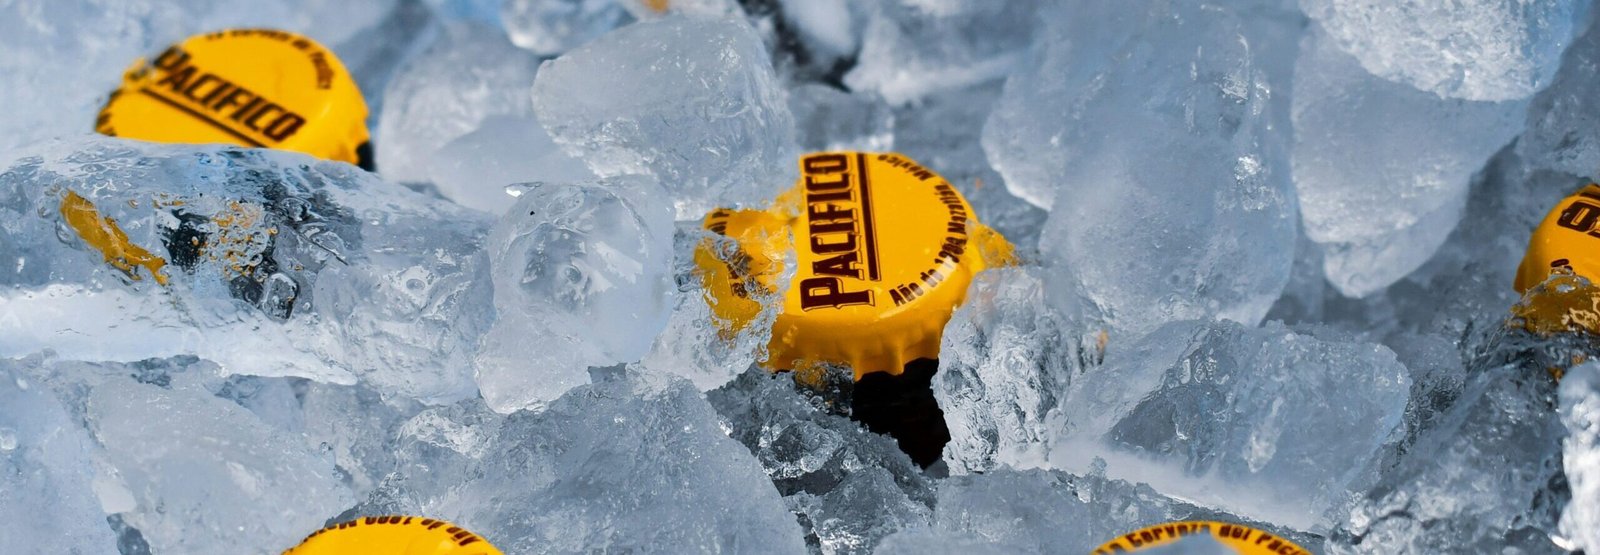
When selecting ice for a cooler, the choice typically comes down to three main options: cube ice, block ice, and dry ice. Cube ice, the most familiar form, excels at rapid cooling and works well for short trips.
Cube Ice
A widely recognized option, cube ice is effective for rapidly cooling cooler contents and is suitable for overnight trips.
Block Ice
Available as commercially packaged block ice from grocery stores or as frozen water in containers such as milk jugs, block ice melts more slowly than cube ice. This makes it a practical choice for weekend excursions.
Dry Ice
Composed of frozen carbon dioxide (CO2), dry ice offers greater efficiency than conventional ice for maintaining cold or frozen conditions. It is ideal for keeping food and beverages cold or frozen during week-long or extended trips. Additionally, dry ice is the lightest option, a feature that proves beneficial when lifting or transporting a cooler.
2. Why Ice Selection Matters for Coolers?
The type of ice used in a cooler plays a crucial role in its overall performance. Understanding the distinct characteristics of each ice type helps users make informed decisions based on trip duration and cooling needs .
Cube ice is the most familiar option and excels at rapid cooling, making it ideal for quickly chilling beverages and for short overnight trips. Its high surface area allows for fast heat exchange, though it melts more quickly than other forms .
Block ice, whether commercially packaged or frozen in containers like milk jugs, melts significantly slower than cube ice due to its lower surface-to-volume ratio. This makes it a practical choice for weekend excursions where sustained cooling is needed . For optimal results, many experienced users employ a combination approach: pre-chilling the cooler with cube ice, then layering block ice at the bottom and filling remaining spaces with cube ice to achieve the recommended 2:1 ice-to-contents ratio .
Dry ice, composed of frozen carbon dioxide at -109.3°F (-78.5°C), offers superior cooling efficiency for extended trips lasting a week or longer . Pound for pound, dry ice provides more than twice the cooling energy of regular ice and keeps items frozen rather than merely cold . It also has the advantage of sublimating directly into gas without creating liquid puddles, eliminating the mess associated with melted water ice . Additionally, dry ice is the lightest option, which proves beneficial when lifting or transporting a cooler.
3. How to Get the Best Cooling Effect from Your Cooler?
When you need to keep food cold for an extended period, do not choose between block ice and ice cubes. Use both. Each has its strengths, and together they can keep things cold far longer than you might expect.
Block ice melts slowly, giving you long-lasting cooling power. Ice cube cool down the space and food quickly because they have more surface area. By using both, you get fast initial cooling and sustained low temperatures over time.
How to Pack Your Cooler
Start by pre-cooling the cooler. Place some ice cube inside for 10 to 15 minutes to bring the temperature down. Empty it, then add a layer of block ice at the bottom. This will be your long-term cooling source. Next, add your food, making sure each layer is covered with ice cube. Fill all gaps between food items with ice cube so cold air circulates everywhere. Aim for a 2:1 ratio of ice to food—more ice means longer cooling time.
Which Type of Ice Works Best
Block ice melts slowly and lasts the longest, making it ideal for the bottom layer. Ice cube cool quickly and are perfect for filling gaps and surrounding food. Dry ice is the coldest option and works exceptionally well, but requires caution. It reaches around -109°F (-78°C) and can keep items frozen, not just cold. Always wear gloves when handling dry ice to prevent frostbite, and do not seal the cooler completely, as it releases carbon dioxide gas that needs to vent.
Before You Load the Cooler
A cooler keeps whatever you put inside at its current temperature. If you put warm food into a warm cooler, the ice will have to work much harder. To avoid this, chill your food in the refrigerator or freezer first. Also, keep the cooler in a cool place away from direct sunlight or hot vehicles. The cooler the starting temperature, the longer the ice will last.
4. More Tips to Keep Your Cooler Cold Longer
Want to make ice last even longer? These simple tips will help maximize your cooler’s performance.
Keep the Meltwater
The water at the bottom of your cooler stays nearly as cold as the ice itself. Do not pour it out—it actually helps keep things cold. Just make sure meat and other foods are sealed properly so they stay out of the water.
Start with Cold Contents
Everything you put in should already be cool, cold, or frozen. Warm food warms up the cooler and makes ice melt faster. Pre-chill drinks and food in your refrigerator overnight before loading. A cold start means longer-lasting ice.
Pack Out the Air
Air is the enemy of ice. The more empty space inside your cooler, the more air circulates, and the faster ice melts. Pack as much ice as possible into every gap. Fill empty spaces with ice cubes or even crumpled newspaper if you run short on ice. Less air means slower melting.
Block the Sun
Direct sunlight is a cooler’s worst enemy. Ice melts up to twice as fast in direct sun compared to shade. Keep your cooler in a shaded spot whenever possible. Throw a blanket, towel, or tarp over it for extra insulation. This simple step makes a huge difference.
5. Final Thoughts
For the best results, combine block ice and ice cubes. Block ice lasts longer; ice cubes cool faster. Pack a 2:1 ratio of ice to food and fill all gaps to reduce air. Start with a pre-chilled cooler and pre-chilled food. Keep it out of the sun and cover it for insulation. Leave the meltwater—it stays cold and helps. Follow these tips and your ice will last much longer.